
Wednesday, December 15, 2010
Monday, December 6, 2010
What happened to GBE 373
 |
| Collins Street, Melbourne - sometime in the late 50's early 60's |
GBE 373
Great number plate. The chap inside is wearing a tie - delivering bread?
 |
| The big picture |
Wednesday, December 1, 2010
Seatbelt installation shots


Fitted the seatbelts yesterday. It just fits! The changes inside the vehicle are all easily reversible by removing various bolts. Underneath a section of steel was welded in to house the 7/16ths UNF threaded nut to secure the stalk of the belt. This had the added effect of stopping the seat from swaying all about the place, so that was a nice bonus.
Some what safer now.
Sunday, November 7, 2010
Seatbelt, diff idea and mirrors...
Since registering the van I have been driving it about quite a bit. I should take a camera around with me. I have been feeling a little vulnerable driving without a seat-belt, so, I am having some minor modifications done (reversible of course) so I can fit a retractable belt. She is off at a workshop now.
The front seat sits on a rather wobbly platform, so this will also be reinforced.
She runs beautifully, steering is hairy but perhaps new tyres will fix that.
Other mods will happen - the rear view mirror is right at eye level, so I will move that down. The side mirrors have new glass, however they flop about a bit, the grub screws seem to lack the bite required to hold the mirrors still. I also have a reversing camera and monitor to install. Hardly a period accessory!
I have heard of a shop that will create a new diff crown-wheel etc to whatever ratio you want, they custom make it. I will look into this further.
Monday, October 18, 2010
Wide shots reveal all


Note the NSU - a really rare and lovely TTS.
Sunday, October 17, 2010
Don't mention the war!


Extra points for guessing the grey/green streamlined rear end in the top shot.
The van held up well in traffic. Some young ladies stopped and laughed openly at the van, (not at me, of course).
Thursday, October 14, 2010
Free at last!

A drama during the official inspection of my vehicle (the import documents did not include the first string of letters at the start of the chassis number) resulted in the manager of the VicRoads office to come out and look at the van, he giggled and gave us the OK.
We are legal and paid up, freedom and adventure awaits...
Sunday, October 10, 2010
RWC!
The van got her "Roadworthy Condition" report from a mechanic. Thank goodness. I have booked her in for her formal government inspection for Wednesday this week. Soon to be fully legal on the road.
My main concern is her carburetor - she seems to cut out when coming to a stop when driving, although she idles fine. I will have to do some reading...
My main concern is her carburetor - she seems to cut out when coming to a stop when driving, although she idles fine. I will have to do some reading...
Sunday, September 12, 2010
Mr Fuller and his J van
My Mother- in-Law spotted a J van at the local school fete today. It was part of a display of stationary engines, hand built cars and other machines. Very interesting.

 Fitted out for camping at sometime, now it is used to move stationary engines around. Great stuff!

Apparently this may have been a local modification to strengthen the rear door frames. The owner has two Australian delivered vans, and they both have this welded in.


 Fitted out for camping at sometime, now it is used to move stationary engines around. Great stuff!
Apparently this may have been a local modification to strengthen the rear door frames. The owner has two Australian delivered vans, and they both have this welded in.

This van is quite interesting - a J van modified with a B series engine/gearbox.


Thursday, September 2, 2010
Kingpins, engine mounts
Just ordered some kingpins from the wonderfully helpful:
Vintage And Collectors Car Spares
Address: Beltoft House
Beltoft
Lincolnshire
DN9 1NE
UK
Contact: John
Telephone: 01724 784 230
Email: johndavis.vintage(at)btinternet.com
_________
also a set of front engine mounts from:
http://www.roverparts.com.au
Which are from the parts bin, commonly found as:
MOUNT - ENGINE - L/ROVER S2A+3 (REAR)
Part number: NRC2053
Thanks Bugly for the tip.
More bits required
I need kingpins, rubber covers for the handbrake lever, gearstick boot and try to cover up all the holes letting the air in... Tricky!
Sunday, August 15, 2010
Not much progress...
Sadly the Van is away getting a "RWC" Roadworthy Condition report from a mechanic. Taking a while! I can only hope it is worth the wait...
Saturday, July 24, 2010
JB Runs again!
I have the permit that lets me drive the van so I can get a MOT/RWC/Warrant of Fitness...
My brother-in-law took her for a drive to evaluate the vans performance.
My brother-in-law took her for a drive to evaluate the vans performance.
Saturday, July 17, 2010
Moss spin on oil filter adaption..
Well, in the interests of easy service of the vehicle I decided to replace the standard BMC oil filter unit (a bizarre contraption which is diabolical to service) with a Moss spin on filter adaptor. The scene below shows the filthy device removed from the vehicle. It spews oil all over the place when you try and remove it from the car - I dont know if there are any easy ways to do it or not - I am sure there are, but I did not know them! I ended up with oil all over the place.
 Note: Don't do what I did above and have all your oil go into a flimsy aluminium tray that crumples when you try and transfer it into a container for recycling (a very bad idea as my garage floor found out a few moments after this photo was taken). Go straight to a container.
The Moss unit comes with really excellent instructions, I found that because of the cramped chassis arrangement installation was a little different .

 This shot is from underneath the car looking up at the old filter spot - make sure you remove the compacted rubber seal. I used a jewellers screwdriver to prise it out from underneath.
Smear some grease on the new seal that comes with the Moss kit, that will hold it in place while you fit the filter adaptor. To deal with the tricky part of fitting the adaptor to the copper pipe, loosen all the fittings at both ends of the copper pipe and the adaptor bolt - this gave me more slack to get some thread into the adaptor without risking cross threading. I then tightened them all up gradually. This saved me getting one of those flexible lines which look a bit too modern for my taste. Here is the old unit below - going cheap!


 Note: Don't do what I did above and have all your oil go into a flimsy aluminium tray that crumples when you try and transfer it into a container for recycling (a very bad idea as my garage floor found out a few moments after this photo was taken). Go straight to a container.
 The Moss unit comes with really excellent instructions, I found that because of the cramped chassis arrangement installation was a little different .

 This shot is from underneath the car looking up at the old filter spot - make sure you remove the compacted rubber seal. I used a jewellers screwdriver to prise it out from underneath.
Smear some grease on the new seal that comes with the Moss kit, that will hold it in place while you fit the filter adaptor.
 To deal with the tricky part of fitting the adaptor to the copper pipe, loosen all the fittings at both ends of the copper pipe and the adaptor bolt - this gave me more slack to get some thread into the adaptor without risking cross threading. I then tightened them all up gradually. This saved me getting one of those flexible lines which look a bit too modern for my taste. Here is the old unit below - going cheap!
Thursday, July 15, 2010
Watch the tappets in action!
The radiator went back in today, so I could fire her up for a bit longer. Number 8 tappet was opening far too wide causing backfire, so I tightened up the gap and here is the result!
Next jobs: Flush the cooling system and put in coolant, then replace the oil filter with a Moss spin on unit...
Next jobs: Flush the cooling system and put in coolant, then replace the oil filter with a Moss spin on unit...
Wednesday, July 14, 2010
Progress...
Put in an hour and a bit tonight - wild weather outside...
- Replaced fan and fan belt
- Cleaned steering box
- Replaced manifold gasket
- New thermostat and gasket fitted
- Replaced tappet cover with new cork seal
- Put old spark plugs back in
I could not resist firing her up - she seems to run OK, bit lumpy. I did not run her for long though - the radiator is yet to go back, next job!
Sunday, June 27, 2010
Valve tappet adjusting
Just a quick hour appeared and I adjusted the valve clearances after the head replacement. Can't wait to fire her up again - I have a busy two weeks ahead so the van will have to wait!
Friday, June 4, 2010
"New" timing cover...
The original timing cover had a felt seal (made of wool?) that "restricted" oil flow. Later BMC vehicles had a rubber seal. I decided to upgrade mine to hopefully slow the oil leaks. You can see the differences in the shot below. The cover can be purchased new for $300 AUD, or a second hand one for under $100, I took the later option!


 I fitted the cover and loosely did up the bolts. Then used a series of ratchet extenders and a large socket to tap the crankshaft pulley into place. This (in theory) should help centre the seal and pulley join. I then did up the bolts. Used a paper gasket! Paper, wool, leather - amazing materials they had to use in the old days to prevent oil leaking.


 I fitted the cover and loosely did up the bolts. Then used a series of ratchet extenders and a large socket to tap the crankshaft pulley into place. This (in theory) should help centre the seal and pulley join. I then did up the bolts. Used a paper gasket! Paper, wool, leather - amazing materials they had to use in the old days to prevent oil leaking.
Wednesday, June 2, 2010
Where's your head at?!?
Well, my head is back on and torqued up. The head has been cleaned and checked, run over the plane to ensure she is flat, a new valve sleeve put in (to replace a cracked one) and is ready to go. Can't wait to start her up, next job is the clearances on the rockers.

These people helped with the head, highly recommended: Frankston Engine Centre18 Kitson St, Frankston VIC 3199(03) 9781 5532
The chap at the above establishment raised his eyebrows VERY high when I told him the head was going onto a Morris JB. He told me that as an apprentice he replaced clutches on a fleet of JBs run by Princes laundry service in a bayside suburb of Melbourne (Mordialloc) in the '60s. I had a hunt around and found this photo - is that a JB van in the background(click to enlarge)? http://localhistory.kingston.vic.gov.au/home.htm
had some interesting photos - I found this one, also of the Princes Laundry with company vans out the front (Morris LD vans, perhaps?):


These people helped with the head, highly recommended: Frankston Engine Centre18 Kitson St, Frankston VIC 3199
The chap at the above establishment raised his eyebrows VERY high when I told him the head was going onto a Morris JB. He told me that as an apprentice he replaced clutches on a fleet of JBs run by Princes laundry service in a bayside suburb of Melbourne (Mordialloc) in the '60s. I had a hunt around and found this photo - is that a JB van in the background(click to enlarge)?
 http://localhistory.kingston.vic.gov.au/home.htm
 had some interesting photos - I found this one, also of the Princes Laundry with company vans out the front (Morris LD vans, perhaps?):

Sunday, May 23, 2010
Head removal
Took the head off to solve the oil leaking from the head gasket area. The Gasket was so old that it was "made in England". I wonder if they still make the gaskets there... It was flat and showed signs of leaking coolant and blowing between the cylinders. The advice from the people who will clean up the head was the engine is burning a bit of oil, and we should do a light service without going overboard (or do a total rebuild of the engine). I will take the advice! 


Tuesday, May 18, 2010
Crankshaft pully oil seal, water pump replacement.
Finally got around to getting the crankshaft pulley (harmonic ballancer) off. I was able to slide two spanners down behind either side of it and gently rock it off. Underneath the cover it all looks pretty good, the timing chain and tensioner all look fine.

 This is the felt seal that was leaking oil - apparently it was never much of a seal anyway. I am changing the cover and seal over to a later Austin 1800 unit, which apparently had a rubber seal that stopped the oil coming out... quite as quickly...
 The water pump was a bit noisy, the bearings were going. It was pretty straight forward to source a NOS unit and install it at this point.
Thursday, April 29, 2010
Starter Dog removal and mysterious van spotted
This charming J (or JB) was spotted driving on a Melbourne freeway (M1, Bourke Rd exit) early today, a cold wet morning. Thanks for the shot James, apparently the van is immaculate, no registration details. Does anyone know anything about it?

To remove a the starter dog - crank nut - balance pulley nut (whatever it is called) with the engine in the car, try this tip - put a big wrench on the nut, support the handle on the chassis (this spanner has a rubber handle, but a block of wood will do to protect the body) and crank the starter over for half a second. This takes the hard work out of removing the nut! Not my idea, but it does work very well.


To remove a the starter dog - crank nut - balance pulley nut (whatever it is called) with the engine in the car, try this tip - put a big wrench on the nut, support the handle on the chassis (this spanner has a rubber handle, but a block of wood will do to protect the body) and crank the starter over for half a second. This takes the hard work out of removing the nut! Not my idea, but it does work very well.

Monday, April 26, 2010
Nuffield Metal Products
 Under the grill on a plate behind the bumper bar was this rusted tag. It seems to say that it is a Nuffield Metal Product
Birmingham England
NMP
Not sure if that is a serial or what underneath. I wonder how many of these plates are left on UK vans, with the rust issues there?
I have taken the radiator out to solve the steering box leak and the harmoic balancer oil leak. Slowly, slowly...
Wednesday, April 14, 2010
Van shots...
I was spotted by Uncle Howard while taking the old girl out for a test drive in bayside Seaford, Melbourne.


Monday, April 12, 2010
U Joint challenge

Wobbly universal joints on the propshaft meant it was time to replace them. The nice new parts are assembled above.
I have never done this before, so some videos online were very useful

After extracting the "spiders" it is possible to see the wear - these should be smooth.
Using the money saved doing this myself, I picked up a couple of tools - a large vice and circlip extractor pliers.
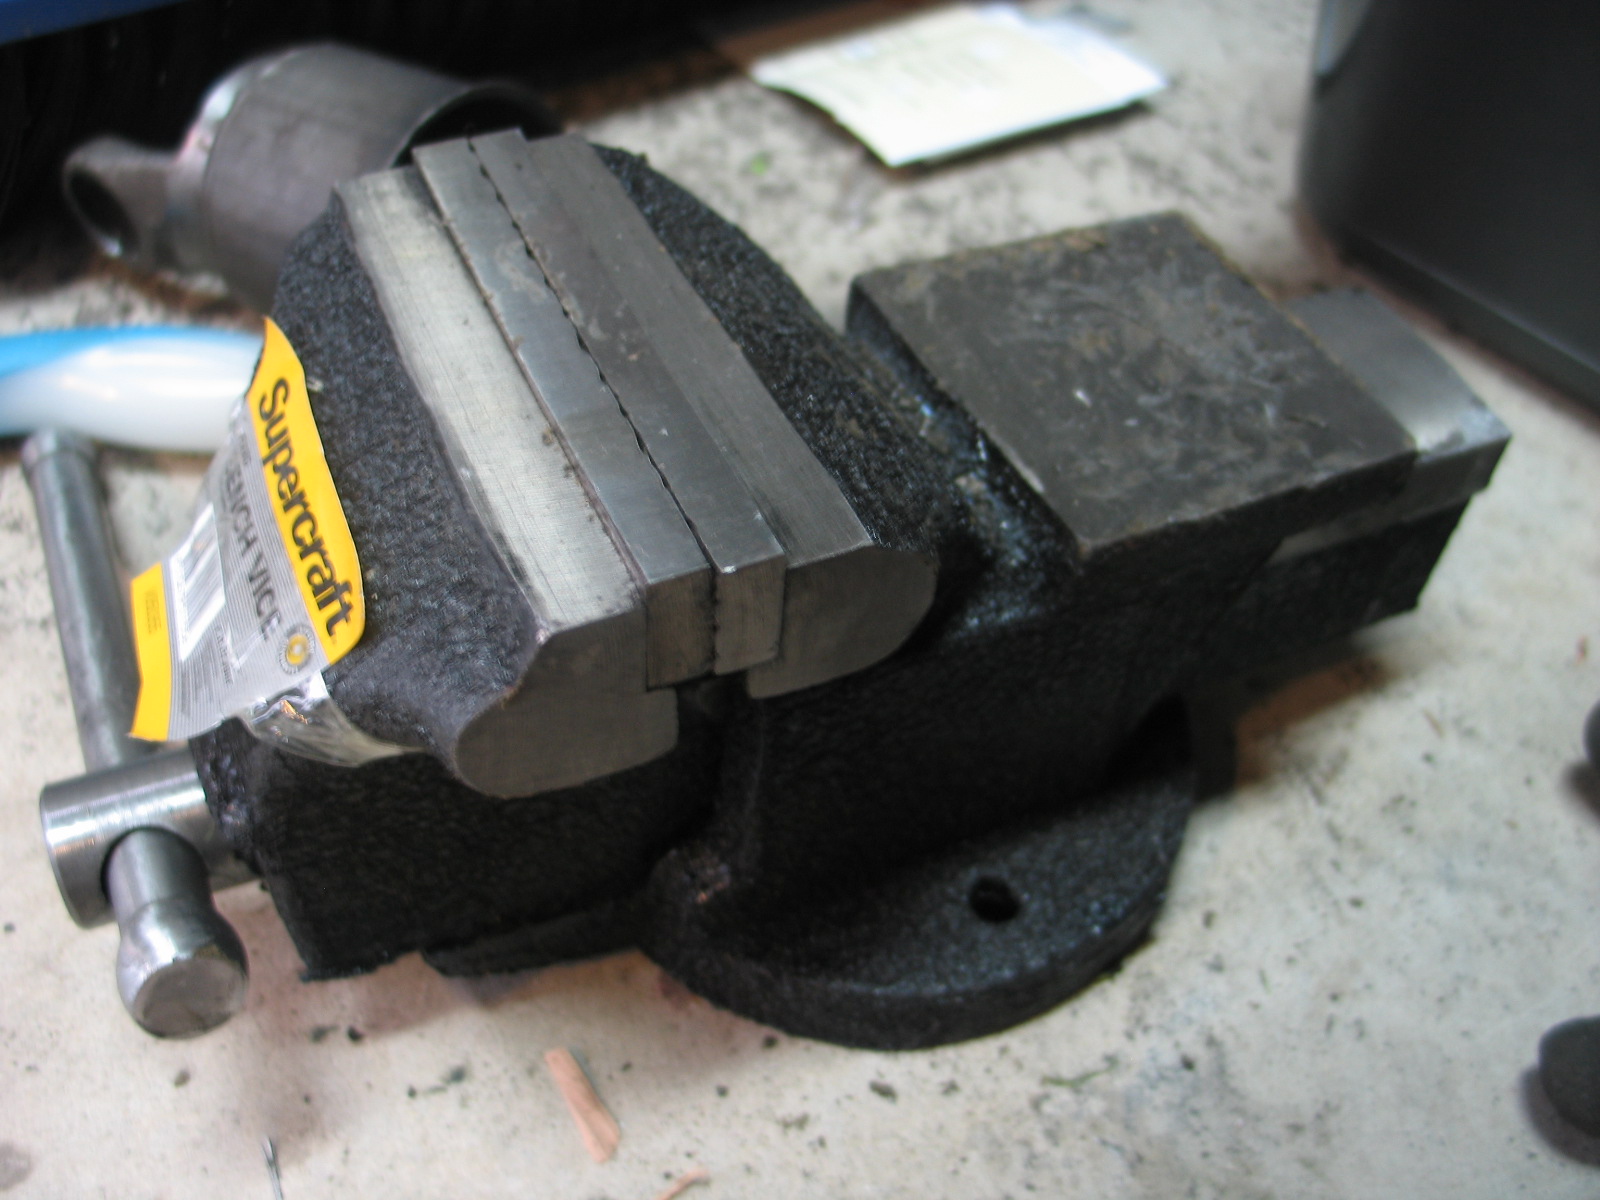

The right tools made the job a lot easier. My only advice to anyone is to check out the videos linked to above, they say it all, very well. I stuffed up one of the U Joints when one of the needles fell into the cup when assembling the unit (It crumbled inside while pounding the cup in, rendering it useless - I had to pick up a replacement. Lucky they are only $17 AUD ( 8 UK Pounds) each.
Subscribe to:
Posts (Atom)